Top smartphone photographer, teacher and author Jo Bradford shares her tips for taking the best smartphone photos that go beyond the predictable. Even if you have the best camera phone, be sure to follow these tips so you know how to get the best shots.
Smartphone photos inspiration: Books
Books on smartphone photography are (almost) ten a penny, but Jo Bradford is internationally recognised as an authority on the subject. Jo’s first book, Smart Phone, Smart Photography, was published in 2018, and since then she’s become a regular fixture on the camera club circuit, as well as running workshops for the RPS and appearing on the judging panels of several prestigious competitions.
‘Smart Phone, Smart Photography was the first book about smartphone photography to top the digital photography best-selling book lists on Waterstones and Amazon,’ Jo notes with justifiable pride. ‘When I wrote that book I was not convinced that anyone would buy a book about phone photography – but it remained a best seller for four years!’
Jo’s latest book, Smart Photos: 52 Ideas to Take Your Smartphone Photography to the Next Level, is full of intriguing and original ideas for smartphone photos beyond the obvious. From panning to pinhole, and should help convert any last remaining smartphone photography sceptics. We caught up with Jo to get some expert advice for better smartphone photography, including handset choice and the editing side.
‘Every year more people embrace smartphones, but the biggest change I’ve seen since my first book is the rise of algorithms and computational photography,’ Jo observes. ‘As well as powerful image processing, the latest iPhones and Android phones have very effective night modes, for example. The algorithms are using the image data in a much more intelligent way. The hardware is coming on in leaps and bounds, too, and you’re seeing a lot of handsets with three, even five, cameras on the back.’
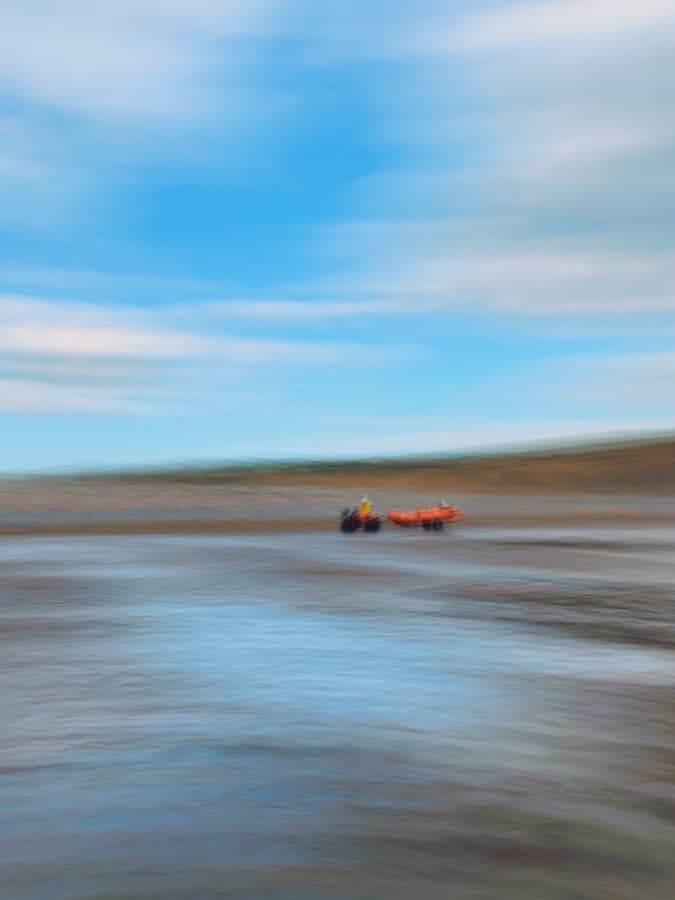
A painterly scene was created by panning handheld with a slow shutter app on an iPhone 11 Pro Max. Widemouth Bay, Bude, Cornwall. Image: Jo Bradford
It starts with solving problems
Jo wrote the new book to show just how creative smartphones can be, pushing the boundaries of how they are mostly used – typically for selfies, street candids and conventional landscapes. ‘I still shoot with analogue and digital cameras, but I find myself reaching for my phone more and more in my professional work,’ she explains.
‘I wanted to show just how powerful smartphones can be when combined with creative thinking and a bit of know-how. So, I started to look at more complex images that people make with conventional cameras, such as image stacking and panning, and explore how you can do it on a phone. The fun is in the creativity – trying to do something different and problem-solving.’
People with very different skill levels can still get good images from smartphones, which is a big part of their appeal for Jo. ‘Most of the time even total beginners will get a shot with a phone, but beyond that, there are lots of ways to get more- sophisticated results – for instance, by using advanced apps, using the phone cameras in manual mode to control exposure, and so on.’
Are the best smartphone photos shot in RAW?
With algorithms now so advanced, often producing perfectly exposed images straight from the phone, is there still much point bypassing them and shooting in raw? ‘I do shoot in raw but save out the images as a TIFF rather than a JPEG,’ Jo explains. ‘The apps I use – Moment, Halide or Camera Pro – enable me to do this.
Everything I produce will either be printed or exhibited, which is why I prefer TIFF. As you say, when you shoot raw on your phone it enables lots of flexibility at the editing stage, but it does override the often excellent JPEG algorithms that makers have spent a lot of money developing.
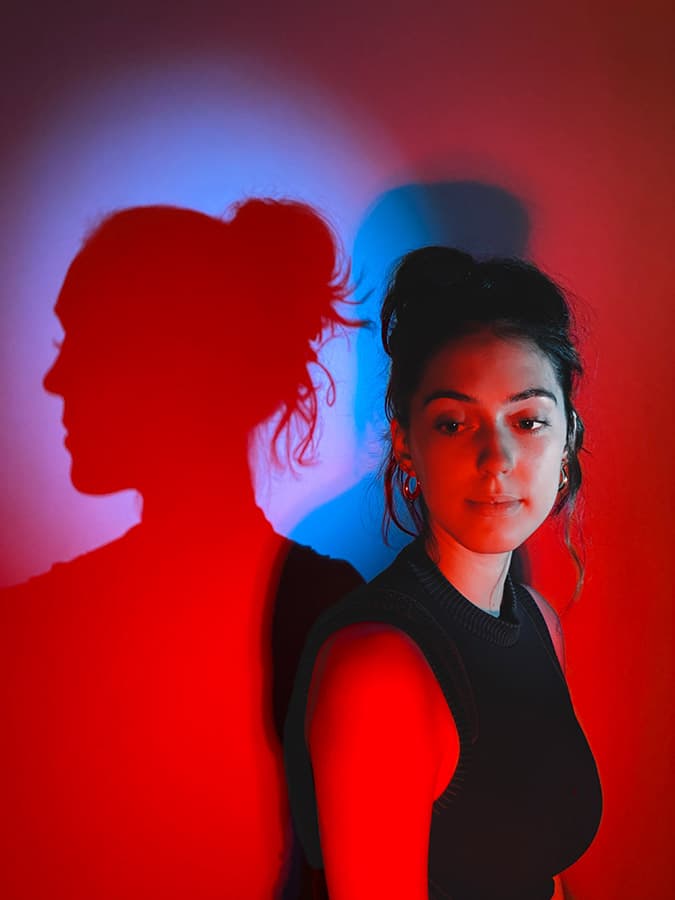
Shot in a studio using an iPhone 11 Pro Max, with lighting provided by two torches covered in coloured cellophane recycled from sweet wrappers. Image: Jo Bradford
‘You can get great quality in your photos without needing to shoot raw, however. If you stack images when shooting in low light, using an app like Slow Shutter Cam, can be a great way to reduce noise. As the noise is randomly generated in each image, when the app stacks them, the noise is automatically removed.
You can end up being able to print really big – I go on stage at The Photography Show and invite people to come and ‘pixel peep’ at my prints. Even with photos taken on an older iPhone, there is hardly any image degradation. So don’t feel compelled to shoot raw, but it’s well worth trying – there’s a raw-editing tool in Snapseed too, which automatically opens when it recognises the file.’
Editing smartphone photos and Instagram
This writer is guilty of sticking with a very small toolbox of editing apps, mainly VSCO and Snapseed, and I’m not alone. Jo is keen that everyone should be a bit more adventurous. ‘Snapseed is amazing, I wrote a whole book about it, but there are lots of other, more specialised apps out there. Snapseed has a very basic retouching function, for example, so you can use TouchRetouch for better results – or you can try SKRWT for fine-tuning leaning-in lines and perspective.
I’m also a big fan of editing on my tablet, which gives you more room to edit. VSCO’s film simulations are great too, particularly with black & white, though you often have to dial the filter effects down a bit. Slow Shutter Cam for iPhone is also fantastic for long exposures and image stacking.’
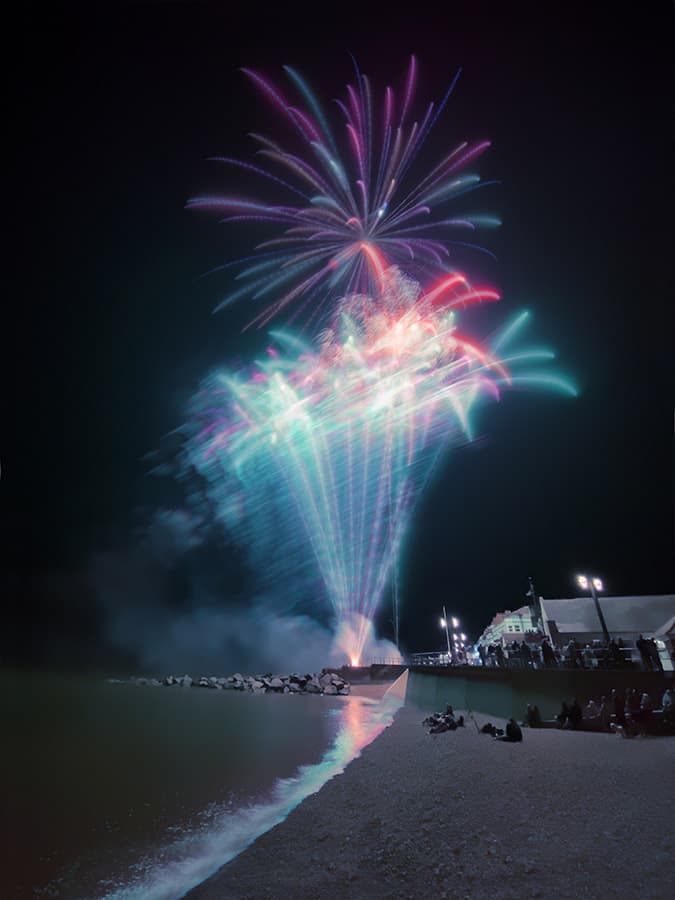
Slow shutter apps, or Live mode, are great for capturing more of the light display at fireworks shows. Using this method you can capture the vertical light that precedes the main burst of colour, too. Shot on an iPhone 13 Pro Max. Image: Jo Bradford
Instagram is the default sharing platform for many smartphone photographers, and Jo has some interesting observations on how it tends to be used. ‘A lot of Instagram users become obsessed with gaining likes and followers, so you start to see a lot of similar kinds of pictures on there.
As creative photographers, we should be innovative and find our own voice, not just emulate other stuff on Instagram – the standard filters can make a lot of images look quite samey too. People want results quickly, however, and don’t always want to put in the time. This is what separates serious smartphone photographers from snappers and hobbyists.’
Read more on how to use social media as a photographer here.
The optical issue
When it comes to future technological developments for smartphones, Jo is keen for more options to control depth of field optically, rather than digitally. ‘I’d really like to see a wider range of better-quality lenses for smartphones. It’ll be interesting to see where we are in five years – whether the makers are still trying to solve everything through algorithms, or go back to finding an optical solution.
Image stabilisation and low-light handling are getting better too (see the new Night mode on iPhones). Again though, it’s doing the same thing, shooting lots of photos in quick succession and putting them all together. It’s the optical side that still lets smartphones down.’
Though clip-on lenses seemed to be dying out, Jo reckons they are growing again in popularity, especially the better-quality ones. ‘I find the lenses from Moment in particular are great. They are not easy to get hold of in the UK and are relatively expensive, but they feature beautiful glass and very low aberration. With the Moments macro and wide angle lenses, you don’t get that overprocessed look you sometimes end up with when the algorithms try to emulate optical lens effects.’
Evangelist yes, zealot no
Jo gives lots of talks and lectures and enjoys challenging traditionalists who still don’t believe phones are up to the job of creative photography. ‘Yes, there are still areas that phones need to improve on, such as astrophotography and underwater shots. For the book, I got Rob Layton to share his techniques for underwater, for example, as he has more specialised knowledge, so I wanted to share his wisdom.
But a lot of anti-phone people end up being my biggest converts when they see what can be achieved. A lot of older photographers aren’t keen on lugging around heavy conventional cameras and lots of lenses, either, which is where phones really come in. It’s almost as if they want “permission” to use smartphones.’
To conclude, it shouldn’t be assumed that Jo is some kind of anti-camera zealot. ‘I love my conventional cameras – mirrorless, DSLRs, and my old film equipment. I’m a big fan of printing my own analogue/film photography in my colour darkroom, and I exhibit and sell analogue fine-art photography in galleries around the world. As for lenses, for now, nothing beats a big, beautiful piece of hand-ground glass. I would hate to see phones cause the death of all this. For certain genres, such as street photography, I believe smartphones are the best choice, but for a portrait in a studio, you would still be better off with a “proper” camera and lighting rig. It’s about choosing the right tool for the job.’
Creative ideas for your smartphone photos
Fun with freelensing
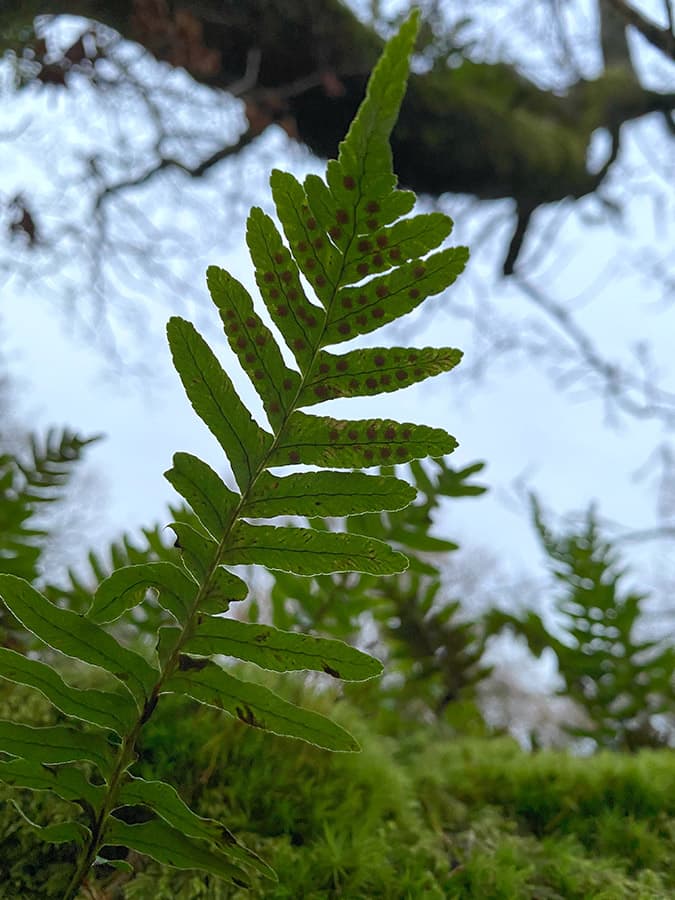
Ferns photographed with the Samsung Galaxy S21’s camera’s telephoto lens selected. A small detachable smartphone macro lens was held in front of the camera to give a shallow depth of field, thereby creating a pleasing background blur. Image: Jo Bradford
‘I really enjoy freelensing, which is a great way to play with any of your old lenses – a standard 50mm prime lens, for example,’ says Jo. ‘You need a tripod to hold the phone while you experiment with the camera and lens combinations.’
How to do freelensing:
- Select a phone camera lens – the standard and telephoto lenses on your smartphone work best for freelensing. You are simply handholding the lens near the camera, and trying to look through the extra lens.
- Position your external lens in front of the phone camera and compose your image. Practise finding focus and lining the lens up so that you can’t see the black edges of the lens housing in your frame.
- No tripod? Not a problem. You can also attach one end of the lens to the top of your smartphone with a piece of tape. This will hold it roughly in the right place so that you can move the lens up and down and left and right without losing it. Experiment with various different lens combinations until you get the results that you are happy with.
Rembrandt lighting

Shot in a studio with an iPhone 13 Pro Max and a Badger Beam light, with a barn-door light modifier from Interfit. Image: Jo Bradford
In this technique, named after the Dutch Old Master, a subject’s face is half-lit, with a triangle of light appearing on the shadowed side of the face. ‘It’s easy to achieve with your phone and a few household props,’ says Jo. ‘The base of the triangle should sit across the top of the eye, extending along the side of the nose on one side and the cheekbone on the other, with the point sitting roughly on the edge of the lip.’
How to get the Rembrandt look:
- Set up your backdrop. It needs to be non-distracting and absorb rather than reflect light. Use a dark grey studio backdrop roll or a large piece of dark fabric or board. For a textured, classical look, paint the board in a dark shade or hue with visible brushstrokes.
- In a darkened room, place the light high on one side of the subject’s face and bring the light forward until the triangle appears. Adjust the light until the triangle is in the right position on the subject’s face.
- Use the telephoto lens on your camera. Drag the exposure down to darken the image, creating a silhouette. You’ll find the exposure function on your smartphone when you tap to focus.
Top tips for making your smartphone photos standout
Jo’s advice for smartphone photography:
Handset choice
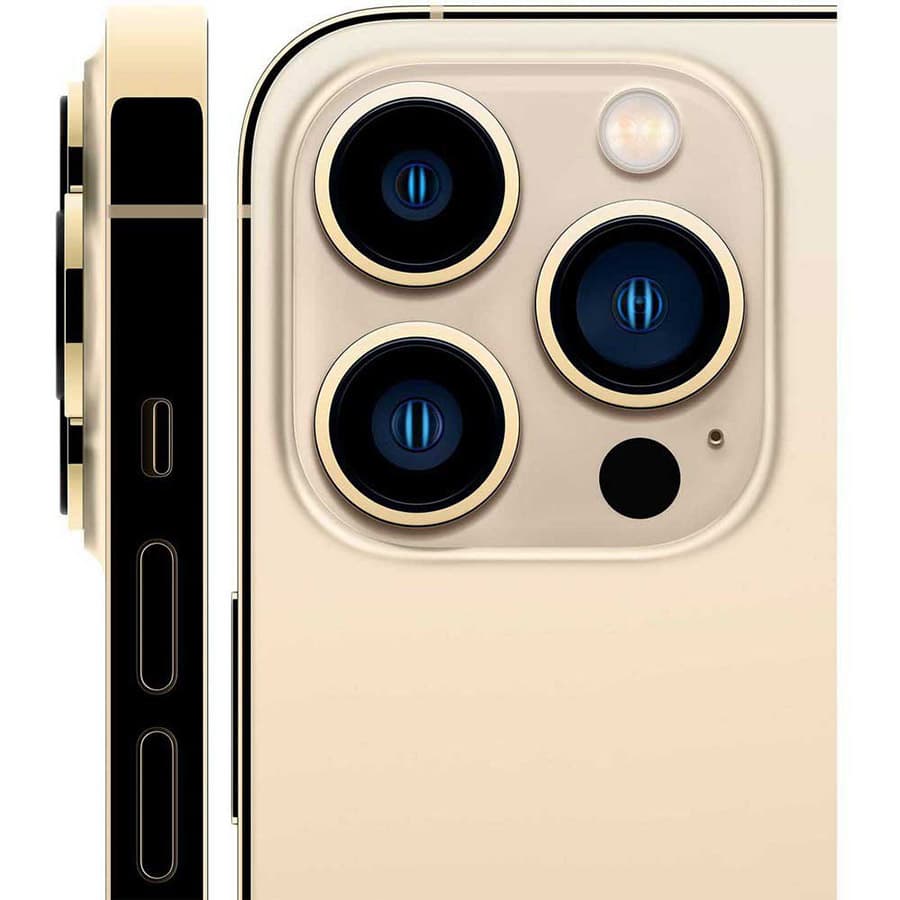
iPhone back camera lens
‘My favourite handset is still the iPhone – I use the iPhone 13 Pro Max. Huawei phones are great for zooming and there are some really good Android phones, but iPhone images don’t look so overprocessed by the algorithms.’
The power of touch
‘When doing talks I ask how many people touch the screen to focus or set exposure, and few do. This is really important as you are taking creative control. You need to get beyond the point-and-shoot mentality with smartphones.’
After party
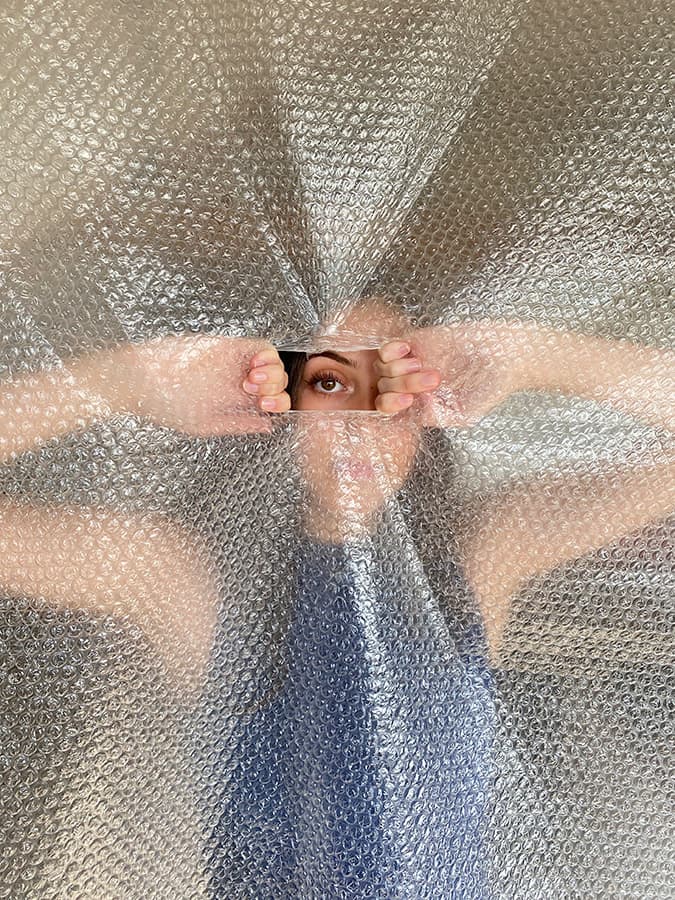
Image: Jo Bradford
‘Image capture is just one element. How will you craft the image afterwards? I stack photos, print them, make collages, throw paint at them, and experiment with household props. Don’t be afraid to play with your smartphone photos.’
Make the grade
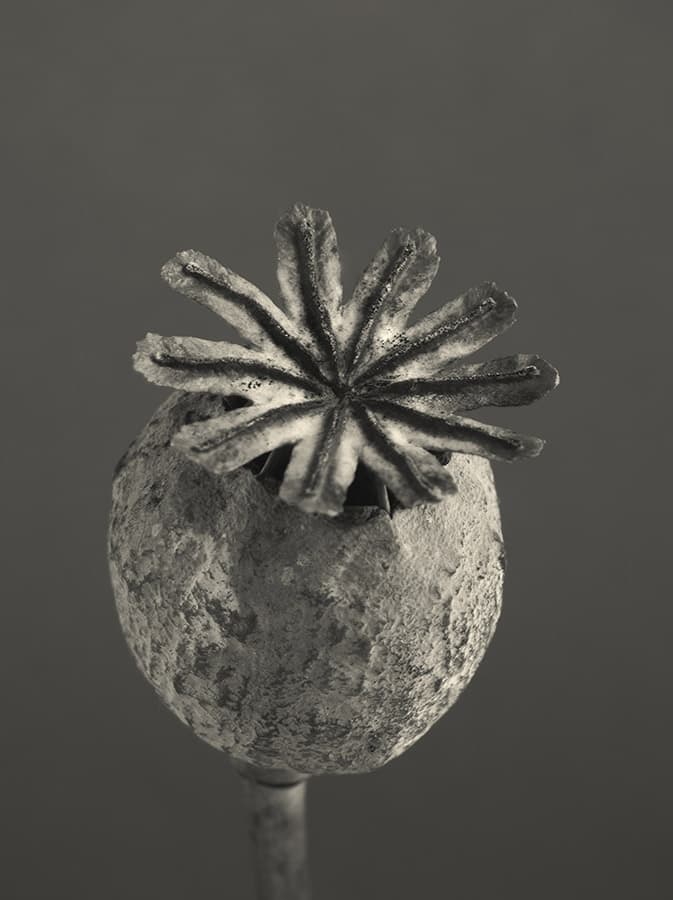
Image: Jo Bradford
‘It’s actually really easy to do your own colour grading, which really makes your images stand out. I’ve shown people how to get the Edward Weston look, for example, rather than just relying on the standard Instagram filters and getting the same old look.’
Third-party lighting
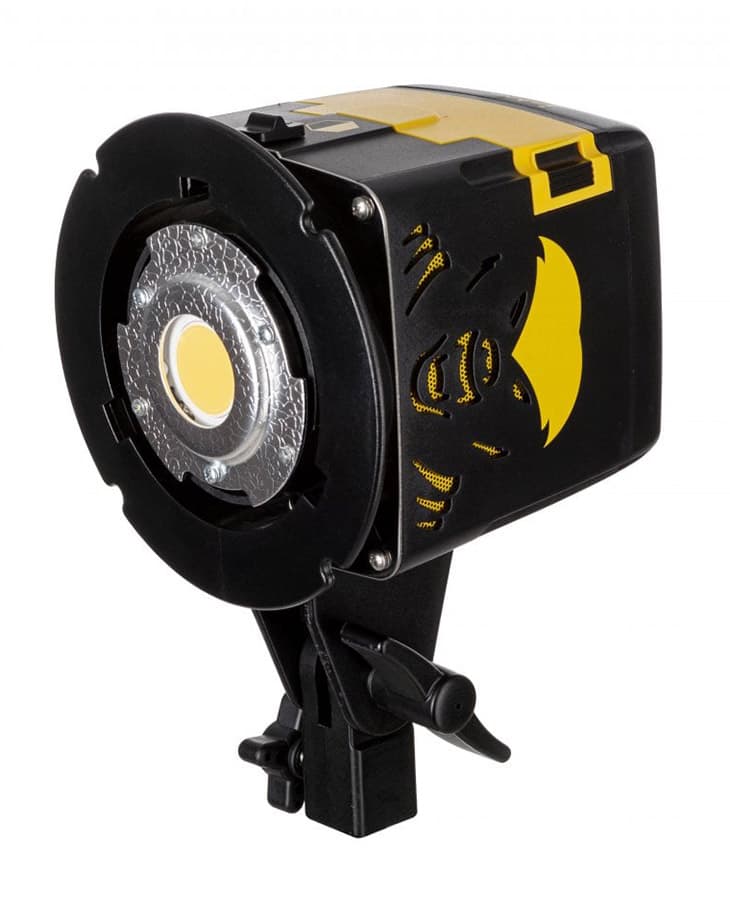
‘Interfit’s Badger Beam, a versatile LED video and photo light (priced at $219/£199), is a good entry-level lighting set-up – it also has some great accessories such as colour gels. I also experiment with making my own coloured lights using sweet wrappers and a small torch.’

Image: Jo Bradford
‘Don’t just ape what’s trending on Instagram – think about developing your own photographic style.’
More tips from Callum McInerney-Riley:
Use the grid for composition
Without a viewfinder, it can be difficult to compose your shots and get everything evenly within the frame. Turning on gridlines in your camera app settings can help you with composition and ensure you don’t have to crop too much in post-production.
Use your main camera and try manual camera mode
Many of the latest smartphones have an array of cameras with different uses. While the telephoto lens might get you closer to the action, it usually relies on an inferior sensor or lens to your main camera. Stick to the main unit for the best results.
Many smartphones allow you to shoot with manual controls. Often, it’s called something like ‘Pro’ mode when you launch your smartphone’s default camera app. If you don’t have this, you can always use a third-party app such as Adobe Lightroom Mobile or ProShot, which is available on both IOS and Android. Using manual mode will give you more control in comparison to the automatic modes.

I always try and work a bit of colour science into my edits. This orange and blue edit works so well together and brings back great memories of Ibiza. Image: Callum McInerney-Riley
Use spot metering
For speed, use spot metering, touching the interesting area you want to expose for – tapping areas of bright sky or shadowy foreground elements will ensure your exposure is good. You can adjust the rest of the image in post-production but you can’t get back picture information in a blown-out sky.
Edit creatively
Your style is subjective and you can do what you like with the image once you have captured it. However, adjusting highlights, shadows, exposure and manipulating colours, sharpening, contrast and tonality will all make your image pop. Be playful with editing and find a look you really like.
There are a variety of apps available but generally, I prefer Adobe Lightroom Mobile. I like the way it syncs to Lightroom CC on my laptop and I can view my images on a big screen and tweak them before I share them. Snapseed and Adobe Photoshop mobile are also fantastic and will work just as well. Editing will allow you to make the most of golden sunlight, bring out detail in the skies, enhance the colours and be creative.
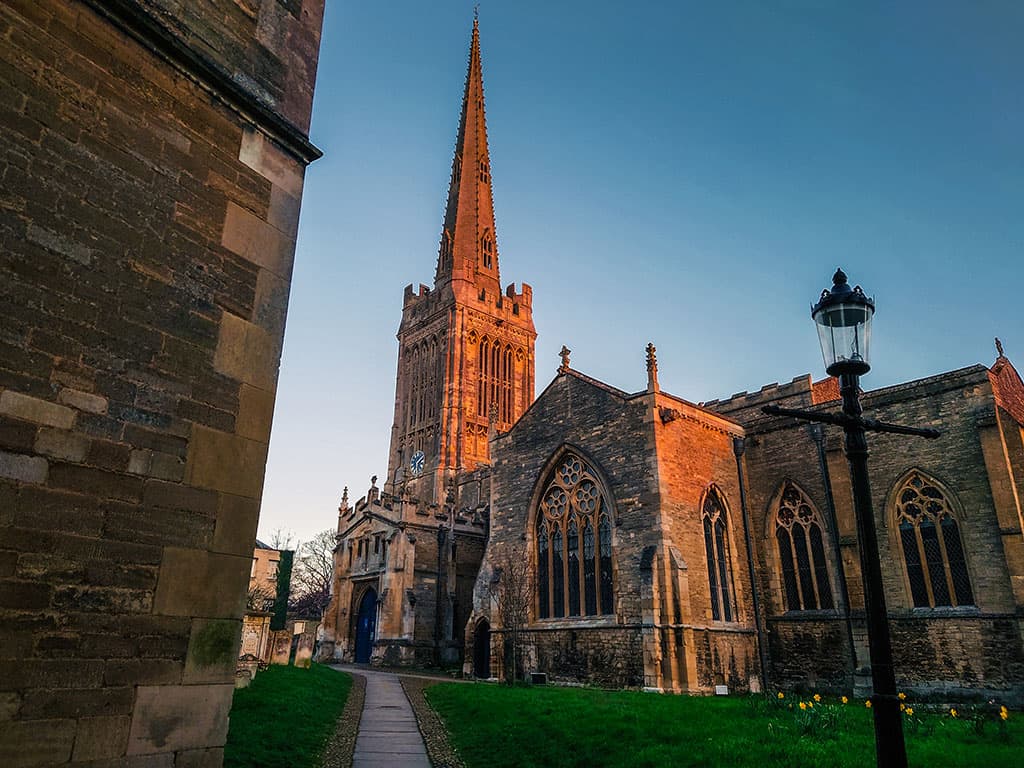
Using the Xperia 5 II’s Pro Camera App, I was able to shoot with a slow shutter speed and keep the ISO low. That’s given me maximum dynamic range and a good-quality raw file for editing this final image. Image: Callum McInerney-Riley
Look for light
You can have the most technical know-how and the best kit in the world… but if your scene is boring and the light is ‘bad,’ your image will be uninspiring. First light or even before is great for travel photography as places are usually less crowded and the light is usually good.
The late evening has great potential too. Find good light, take great images – it’s a very basic tenet of photography but without it, your shots are going to be dull.
The best apps for smartphone photography
Jo has tried a very wide choice of apps, but these are her current favourites for shooting and editing, covering iPhone, iPad and Android platforms.
Best apps for shooting smartphone photos:
- Pro Camera by Cocologics (iOS): Very reliable and offers manual functions. Price $12.99/£12.99
- Halide Mark II – Pro Camera (iOS): An App Store Editor’s Choice, this is an award-winning powerful camera app that costs $2.99 monthly, $11.99 yearly or $59.99 as a one-time purchase.
- Slow Shutter Cam (iOS): My go-to app for making long exposures and light trails. I also like using the clever stacking function to deal with low-light shooting and related noise issues. It costs $2.79.
- FOCOS (iOS and Android): A clever app for shooting and editing that lets you mimic a wide array of lens effects and depth of field. Experiment with the aperture shapes over light to create beautiful bokeh. Monthly subscription $3.99, yearly $7.99, lifetime unlimited access $12.99
- Pro Camera by Moment (iOS and Android): Another app for manual controls and long exposures, with quick access to the settings and many features of a DSLR. Priced at $6.99, pro bundle $4.99, slow shutter $3.99

Best apps or editing smartphone photos:
- Snapseed (iOS and Android): A great all-rounder for basic editing, with advanced features like double exposures. Free.
- SKRWT (iOS and Android): A great app for adjusting issues with lens distortions and converging verticals, enabling you to edit with more precision. Cost £1.99.
- TouchRetouch (iOS and Android): A superb app for removing unwanted bits in your photos, leaving you with a cleaner look! £1.25 a month, £14.99.
- LD Photo Editor (iOS and Android): Enhance your photos with beautiful light and elegant overlays.
- VSCO (iOS and Android): This is an editing app and photo-sharing platform, which combines beautiful presets and premium-quality filters such as classic film styles. Annually $29.99.
- Affinity Photo (iPad): This feels like a fully fledged desktop editing tool, but with the freedom to go anywhere. One-off purchase price is £19.99.
See more smartphone photography apps here.
Take a look at our best budget phones for photography guide for more budget-friendly phone options.
Your guides:
Jo Bradford
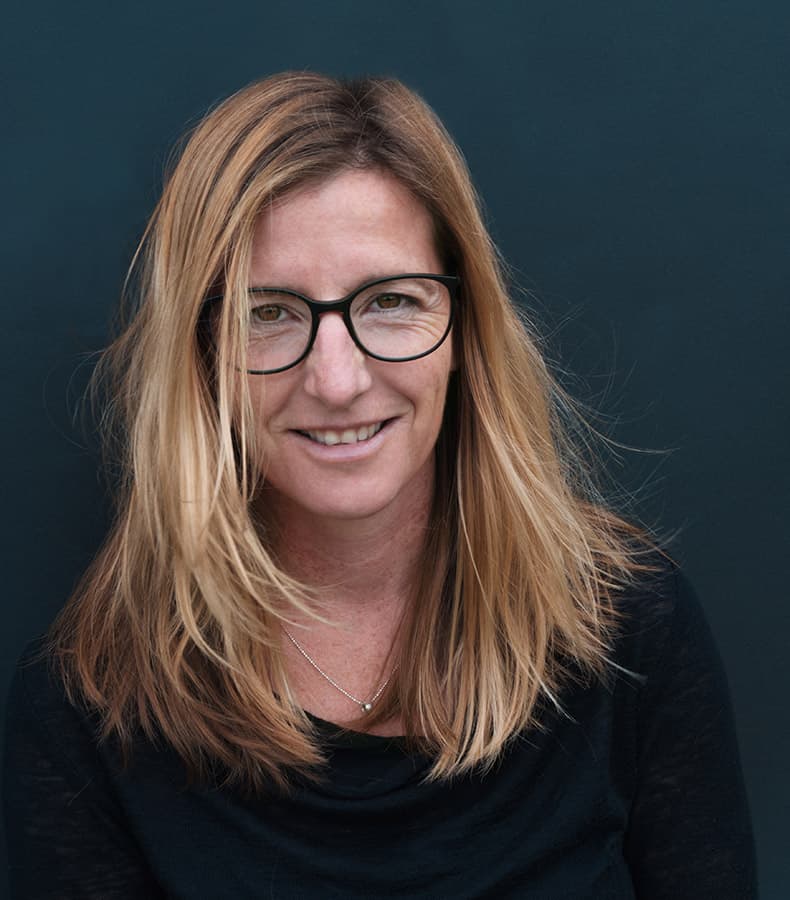
Jo is a widely published photographer who runs workshops and courses on photography and editing. She also lectures at at Falmouth University. See www.greenislandstudios.co.uk and Instagram: @greenislandstudios
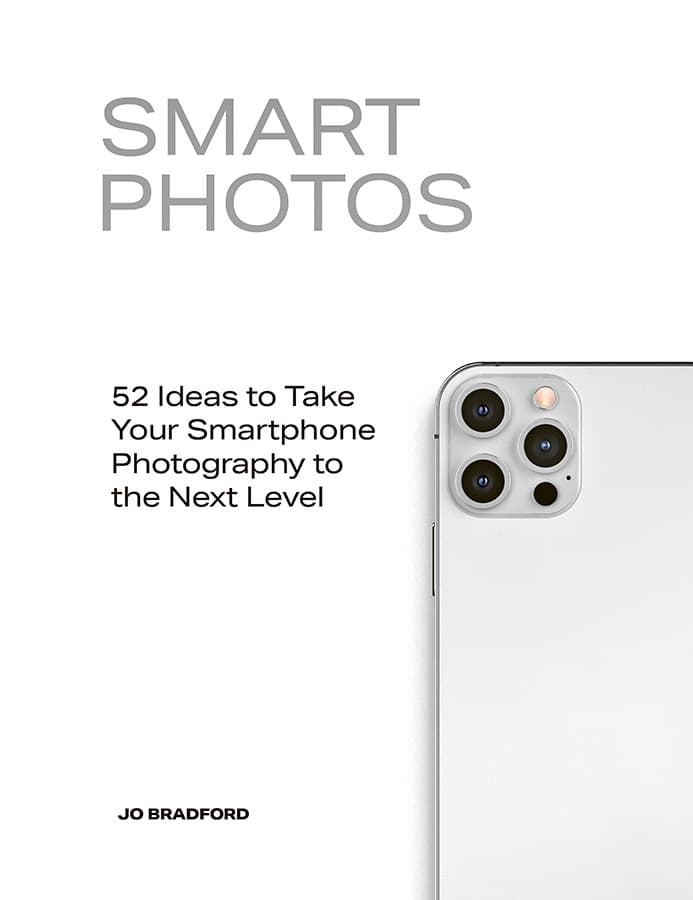
Smart Photos – book by Jo Bradford
Smart Photos: 52 Ideas to Take Your Smartphone Photography to the Next Level is published by White Lion. It’s available from a wide range of booksellers – visit www.quarto.com
Callum McInerney-Riley
A keen photographer for over 15 years, Callum McInerney-Riley is a former Technical Writer on Amateur Photographer. He now runs a company that creates photography and video content for a host of large brands. See his website here.
Found this article helpful? Why not also check out our street, portrait, black & white, and macro smartphone photography guides?
Want the chance to be featured here on our website and across our social media? All you have to do is share your photographs taken on a smartphone on social media tagging #APSmartphonePicoftheWeek. You can also send in photographs to [email protected] with “Smartphone Pic of the Week” in the subject line.
Related articles:
Follow AP on Facebook, Twitter, Instagram, and YouTube.

